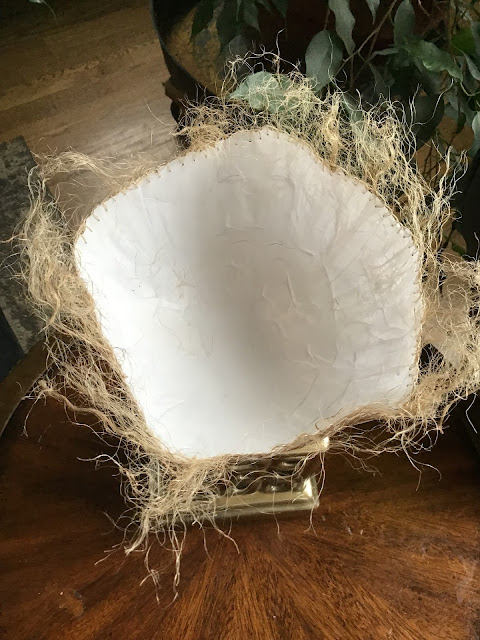
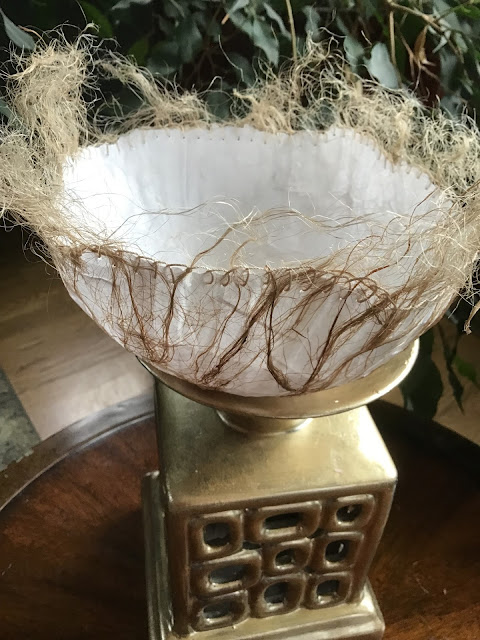
Getting Started
Now that you’ve got all your materials assembled, it’s
time to get started.
1. 1. Prepare your adhesive. Your glue should be the consistency of
milk. What I’ve read says 50/50 water/glue,
but I must admit that I’m not that accurate.
I start with my glue (which is usually what I have on hand as all-purpose
white PVA – Elmers School Glue or Glue All), then I add water until it is thins
to the consistency of milk. It might be
slightly different depending upon the glue that you use – thinner glues need
less water. You just need it to spread
easily.
2. 2. Tear your paper into strips. I usually keep my strips about ¾” to 1” wide
if possible. The length will vary. I started out using longer strips but began
experimenting with smaller pieces 2” – 4” in length. I find the smaller pieces can give less
wrinkling as you are building up layers, but I also find a few longer pieces
across the surface of the balloon can be an effective way to begin. Experiment and see what works for you. You will find that the WST (wet strength
tissue) and most paper, tears better in one direction than the other. It is better to work with the grain than
against it. Tear a substantial number of
strips – better to have too many than too few.
3. 3. Protect your work area – it can get a
bit messy. Have a damp cloth to clean
your hands. Have extra water in case you
need to thin your glue as it remains open.
4. 4. Blow up your balloon to the size you
desire and secure it with masking tape to a container to raise it from your workspace
and to stabilize it while you are working on it. I use bowls, jars, cardboard rings – anything
that will give a firm base. Use as much
masking tape as you need to secure the balloon to the container. I sometimes have a problem with the masking
tape releasing at inopportune moments – not good!
5. 5. Now you are ready to begin applying
your paper strips to the balloon. You can give the balloon a spritz of water to
hold the first strip and then use your brush to apply the glue on top or apply
a coat of glue directly to the balloon and place the paper on the glue and then
apply more glue on top. Either method
will work. Overlap your next strip of paper and apply glue with your
brush. Use your brush to smooth down the
paper. Keep applying strips (or patches, as the small pieces of paper are
called) until you have covered as much of the balloon as you want.
6. 6. You can add a second layer of tissue
without waiting for the first to dry.
You will find that when adding the next layer of paper, the glue on the
surface will grab the tissue and make it easy for you to smooth it down with
your brush. Sometimes very little extra
glue is needed for the second layer. Add
it judiciously. You don’t want to make
things too wet. I place my strips/patches on in a random way. I find that adds to strength. If I put a vertical over a horizontal it is
stronger than two vertically seamed areas. Two to three layers will give you a strong yet
relatively thin vessel. I might have
more layers on the base of the vessel for stability and less on the sides but
that is purely a matter of personal taste (and the fact that I plan to stitch
and pierce holes on the sides)
7. 7. I usually let it dry overnight. You can always add more layers once it is dry
if you like. If the edges appear too
thin, this can be the time to add more layers or define them a bit more. If you
want to reinforce the edges, remember to go in the opposite direction.
8. The last step is to release the vessel from your mold – the balloon. I don’t poke the balloon; I undo it so I can control the air release (If you find you can’t undo it, you can stretch the neck of the balloon, pinch/twist it closed and cut off the very top near the knot). You want to slowly release the air so that you can loosen the glue and paper from the balloon and not deform your vessel – it is fragile, and it is stuck to the balloon. As the balloon slowly deflates, pry the paper from the balloon. Once you start to do this it should come away easily. Once you go all around the edges (the weakest area) you can’t let the air out more quickly. The balloon will peel away from the paper, and you are left with your vessel. You can trim your edges or leave them as they are.


