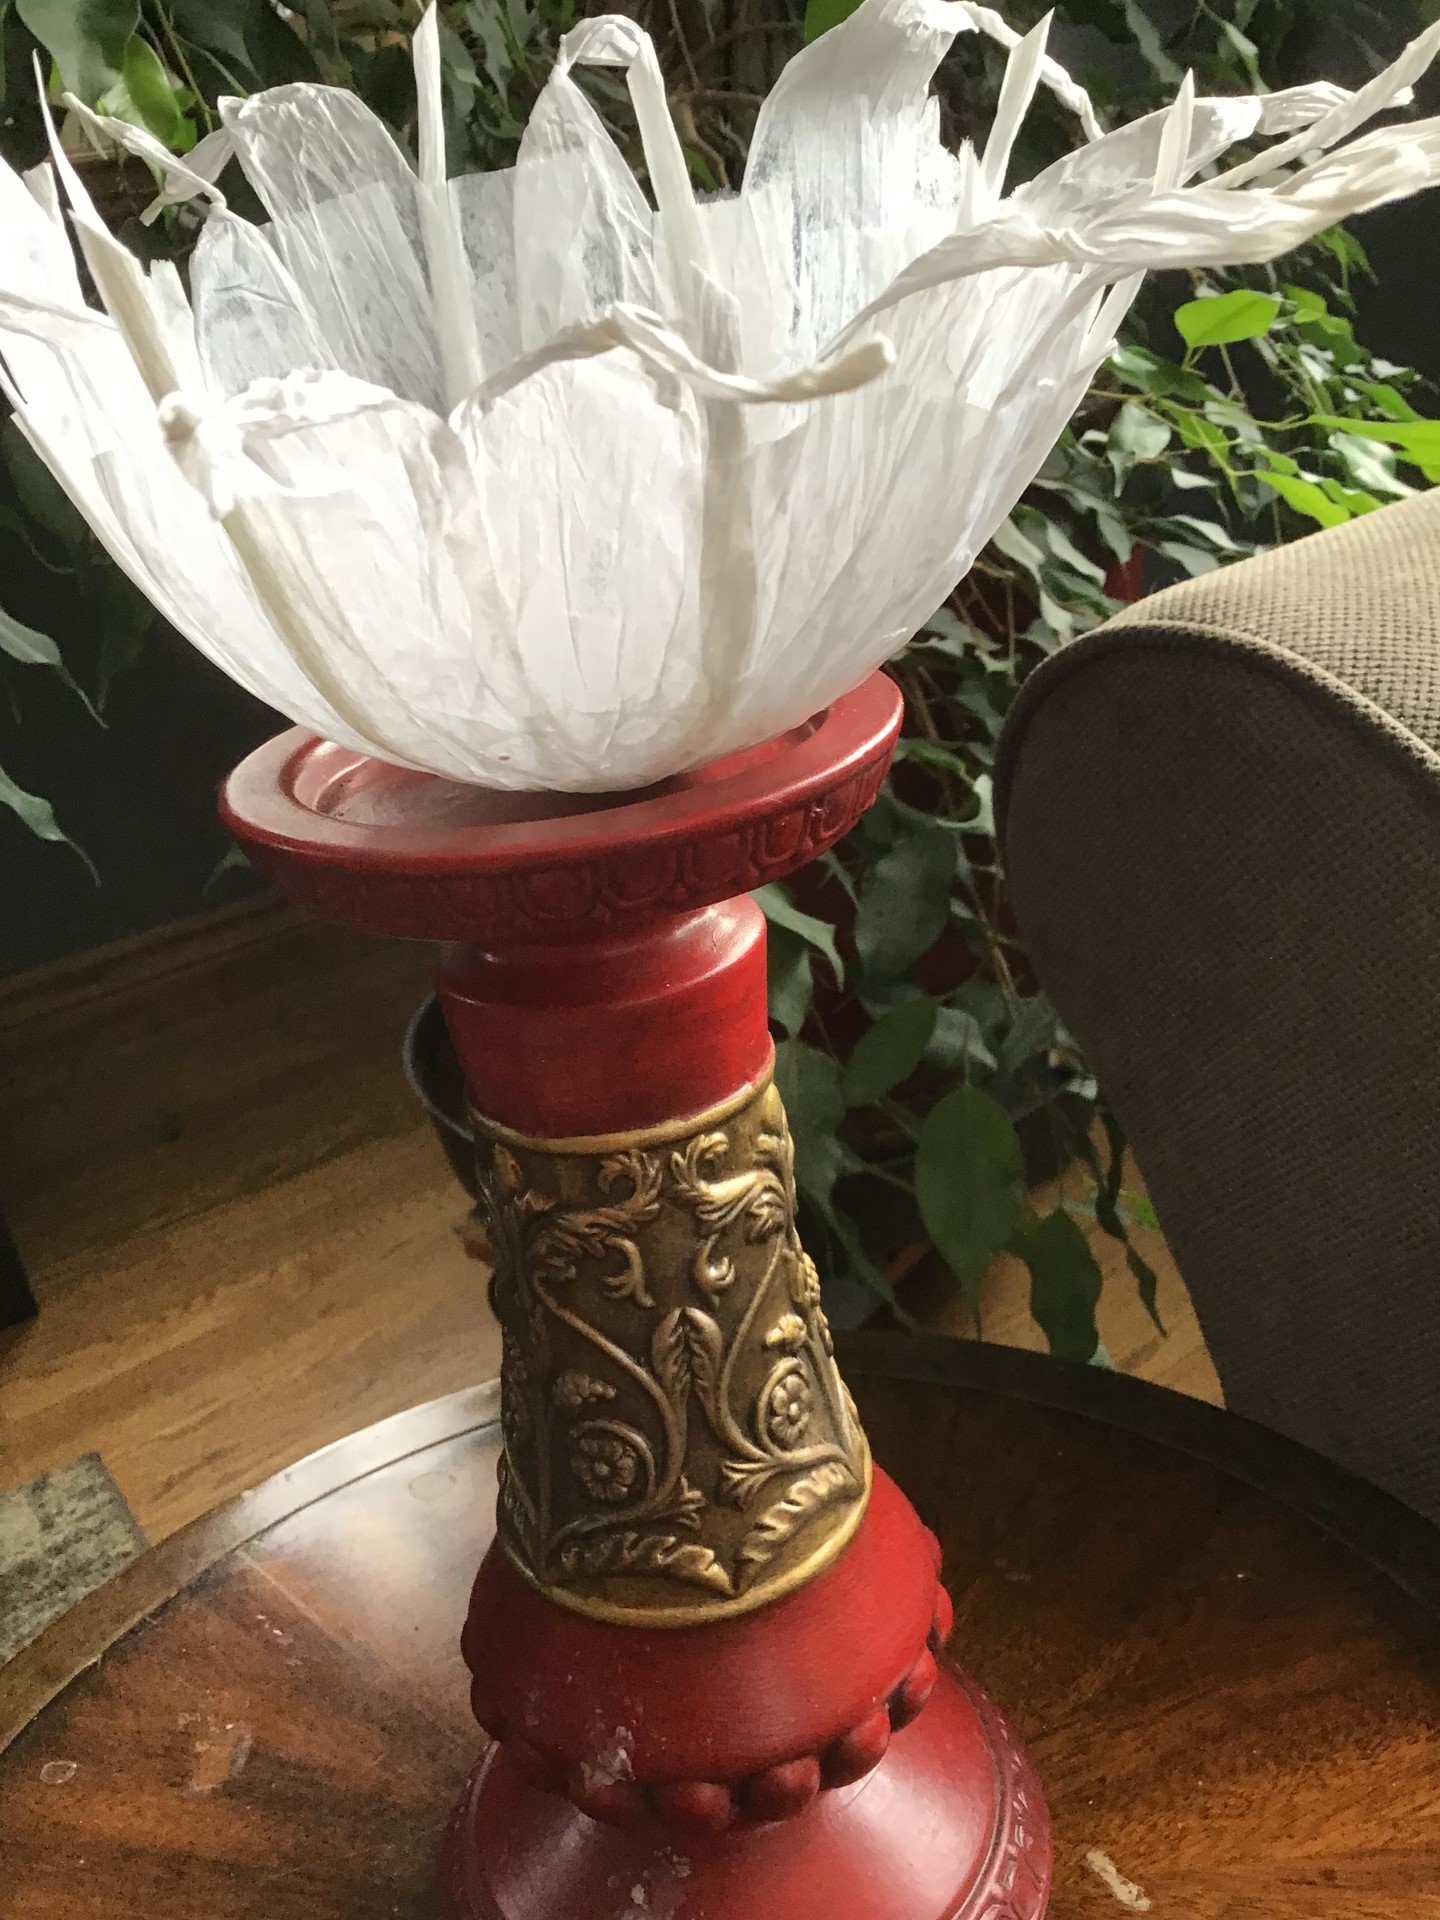
Paper String
I didn’t mention paper string in my class description
because I hadn’t found it in my stash at the time, I was writing the
proposal. It was only when I began
playing with the paper mâché that I found it, began unraveling it to see if it
would work as a paper to use in the process and then began to wonder about what
else I could do.
Not long after I began playing with it, paper string,
paper twine and raffia began popping up in my feed. My search algorithm for
paper artists who made vessels was finally starting to get results and my poor
efforts were put to shame as you will see in Lesson 3 – Inspiration.
What I am sharing here are some of my efforts using
“extras” not mentioned in the official class description in case you might want
to experiment. I’ve included the links
to the demo videos that I made as I played.
Have fun. – it’s all completely optional.
Using Paper String As Is – Twined or Rolled
This has to be the easiest way. You cut a fairly long length – I can’t give
you an exact amount because I’ve only tried this twice, but I must have used at
least a meter. You can always add
more. I made a medium sized vessel on a balloon,
and I would suggest a balloon (at least for your first) because this is quite
rigid when done – not a lot of wiggle.
You soak or dip your paper string in your water/glue
mixture (yes, this is messier than the paper mache). Pull it out with your
fingers and wipe off excess glue and begin wrapping the string around the
balloon that you have attached to your container (note: the width of the
container will be the width of the vessel opening). You wrap from the top of
your balloon on an arcing angle down to the neck of your container and back
around the other side up to the top of the balloon again and move over a bit
and go back down in another arc. You
don’t have to be perfect; they can be somewhat random, or you can try to make
them evenly spaced if you want. My first
attempt was somewhat random, my second attempt I tried to space them roughly
1.5” apart. You keep going until you run
out of string. Random or precise- they
both work.
When you get to the end of your string, make sure the
end is glued to another piece of string so that the ending is hidden. You will find that the string wraps tightly
near the neck of the container – this makes the neck of your vessel.
Video –
Wrapped Paper String Vessel part 1
Video –
Wrapped Paper String Vessel released
Video – White
Wrapped Paper String Vessel released
After I played with this, I found that this technique
is actually quite common in lighting fixtures.
There are many You Tube videos that will explain in detail, if you
search String Lighting Fixtures.
Using Paper String Unwrapped
Another way to use paper string is to untwist the
paper string first and then use it. Apparently,
there is quite a resurgence in Paper Twist craft in many areas. Again, after I began to play with it, I found
more and more images showing up in my feed.
Most of them had to do with lighting fixtures (involving LED lights,
naturally). Paper string is sturdy paper
– well, sturdier than tissue – and can handle be untwisted with care and glued
to your mold. I did use a little wet
strength tissue to reinforce mine when I was releasing my vessel from my mold. I twisted and untwisted my paper string and
bent it into the shape that I wanted it to have.
Since paper string comes in so many colours it opens
up many possibilities.
Video – Paper
String Vessel part 1
Video – Paper
String Vessel released
Using Other Fibres
You can add other fibres to your vessel. I’ve added sisal fibres to a vessel by
untwisting a piece of sisal rope and shredding it into its fibre components and
then glueing them to the vessel. I also
used the buttonhole stitch at the edge to additionally secure the fibres.
I’ve added lace between layers of tissue with the lace
extending above the tissue. The
water/glue mixture is enough to stiffen the lace into the shape that you want
for your vessel. The same can be done
with scrim or other textile fibre.
Video – Rice
Paper Lace vessel reveal
Newspaper Extras
The following videos are not mine but I came across
them when I was looking at paper mache and paper related projects. You might find them of interest. Take a look at some of their ideas and see
where your imagination takes you.
CESTAMULTIUSO DE PAPEL. TUTORIAL (youtube.com) (not in English but self explanatory)
Recycledmagazine bowls basket - DIY Useful Idea (youtube.com)
(2)How to Make Paper Rope or Cord - YouTube
RecycledNewspaper DIY | Easy to make Home Decor | DIY Creator | nami (youtube.com)
(2) COMO HACER CUENCOS BOWL
DE PAPEL PERIÓDICO REVERSIBLE Cuencos de papel paso a paso - YouTube (not English but you can set English
subtitles and watch without sound)
Decorating with Napkins
When you have made your paper mache vessels, an option for enhancing the vessel is to decorate them using images from paper napkins. Napkins come in all size and some have incredibly beautiful designs on them. They've long been used for decoupage on a variety of items so it should come as no surprise that they would work well to decorate delicate paper vessels.
Most napkins are two or three ply and you only need the single play that contains the actual image. This give you a very translucent image to work with. Remove the other layer or layers of paper before you begin to isolate the images you want. If your fingers are good enough, use a piece of painter's tape on the back of the napkin to pull away the extra layers of tissue.
Rather than cut out your image, which will give a hard edge, use a fine paint brush and water. Draw a thin line of water around the image you want and gently pull the extra napkin paper away from the image. The paper with feather and tear along the water line. This ragged edge blends in more seamlessly than a hard edge does when you glue the image onto your vessel.
Use a wider brush to apply a coat of glue/water mixture to your vessel. I do this while my vessel is still on the mold so that it will retain its shape while damp. Gently lay the image onto the surface, patting it into place. I find that if I do this slowly and carefully, I get few wrinkles -- it conforms to the shape of my vessel and I pat it into the vessel's nooks and crannies. I then gently (lightly) apply another coat of the water/glue mixture, starting from the center and moving outwards.
Video: Decorating with Napkins
Have fun!