Here is what I've come up with so far:


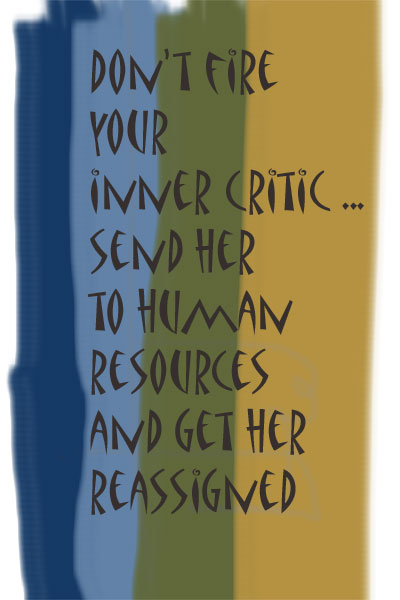

I still have to put the attribution on the cards.
SATURDAY 1st OCTOBER - SATURDAY 29TH OCTOBER
The Basics
First things first...
THIS NOT ABOUT BLITZING!
Blitzing is tiring just to think about, doesn't serve a purpose and isn't enjoyable. Anyone who tells you they love housework gets looked at like they're crazy. We would ALL have cleaners if we could afford it. Let's be honest.
We would all love to have studios that look immaculate and could grace the cover of 'What Home' magazine, but in reality, we're creative. Even if we ever attain our dream studio, the chances are it won't stay that way for very long anyway. And us crafty types tend to hoard stuff. I know I have at least 3 shelves full of scrapbooking stuff I haven't used in... well.... let's just say 'a while'.
So... what is it about then?
This workshop is aimed at turning your workspace from a place you cringe at and think 'now, where did I put...?' into somewhere you can't wait to get into and make stuff in. Whether you work in a dedicated studio, out of a repurposed cupboard or need to find a corner of your home to turn into a little workspace just for you, this workshop will help you create a lovely, nurturing environment for your work. In an easy to manage, fun way that won't overwhelm you.
This is not about cleaning and organising, Get that out of your head. It's going to take a month to sort out your space, working in specific, manageable chunks each day. If you do other rooms after that's longer. I'm hope to do my studio lounge, kitchen, main bedroom, spare room, bathroom & hallway. That's 5 months. That's the end of January which sounds like a long time to be cleaning and organising. But honestly, how much will I get done between now and then by putting it off and making cups of tea? Even if I give up after one room, I will still have accomplished something.
This is about nurturing and creating a sacred, artistic space. If you don't have one, clear out a corner and make one. If you have one, clear out the stuff that's in your way and turn it into somewhere you want to be, that inspires you and makes you happy. While we work on each area we'll do other things we 'never have time to do' like listening to albums we love, listening to an audio book or radio program, moving in a way that encourages your body to stretch, whatever you decide to focus on.
Prompts will be given and maybe a link to one song that sets the theme for the day to bring in some different music that you might not otherwise listen to.
This sounded perfect to me so I signed myself up. See that highlighted sentence – I did that. That is what I want out of this workshop. I can’t seem to get there on my own without getting totally overwhelmed. This seems like a good way to spend an hour or two a day for a month.
You can see why I need some help. And this is after I spent a couple of hours clearing off the top of the desk.
I’m trying out Windows Livewriter. I read about it on-line, on Susie Jefferson’s blog to be exact and I thought I’d give it a try. It is supposed to allow you much more flexibility in writing and publishing blog posts. I’ve always been irritated by the limited fonts that I’ve had at my disposal. Not that I want to go all fancy but Verdana is not necessarily what I had in mind. Sometimes, for some things, you’d like to spice it up a bit.
Apparently with Livewriter, I’ll get access to all the fonts that I have on my computer and I have A LOT on my computer. I’m a bit of a font collector. Since I’m not very good at hand lettering, I do a lot of computer lettering and transfer that to the work that I do.
Let’s see how this posts. Here goes.